Our Beginner Guide To Burning Letters Into Wood
Burning letters into wood is also known as pyrography and be an excellent way to personalise a word surface into a sign or name board, you can typically use any kind of wood canvas for letter burning and you don’t have to be a professional either.
To burn letters into the wood you will need to make sure that you have a wood-burning tool for burning the design into the wood, you need to have chosen a wood project letter template as well as some carbon paper for transferring the types of lines.
To guide you through your letter burning DIY project we’ve composed an informational step by step guide below which will take you through what pyrography is, how to burn wood letters into your wood canvas, some tips for letter burning on a wood surface and how to burn letters without a wood burner tool.
What Is Pyrography?
Before we dive into how to burn letters into a wood surface, let’s understand what the technical terms mean for wood burn letters, Pyrography.
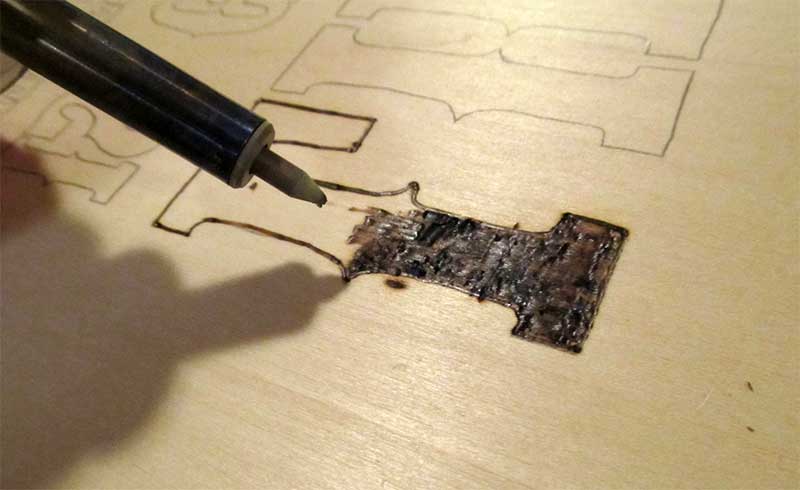
Pyrography means a form of free-handed art on a piece of wood which is done by people with a poker or a wood burner in our case, it dates back to Egyptian times. You can make any art you want with pyrography on a piece of wood, not just wood burn letters.
Which Wood Burner Should I Use For Burning Letters?
To make quality letters on your wood canvases you need a quality wood burner tool for the job. Wood burners come in many different varieties, the price of wood burning tools change according to the features they come with.
For example, more expensive professional wood burner tools will have features such as adjustable heat control and come with more tips to choose from for different designs. You will often find they have cases too and files to help clean the tips after usage.
Our Six Steps Guide To Burning Letters In Wood
Now we know a little background to Pyrography and its wood art, let’s get into how to do your own project wood burning letters as a beginner with our six easy steps below.
To complete this project you will need to have your pyrography patterns of choice (the letters), carbon paper for transfer, the wood burner device, some types of wood-burning tips and your wood choice for burning the letters on.
Before we get into our 6 easy steps, we will first take you through the preparation before applying your wood-burning irons.
Preparing Your Wood Surface For Letter Burning
- Step one – To start with, pick out the wood you will be letter burning on, this wood should be light colored, soft wood which will make single lines and letters much easier to see. You should also choose fine-grain woods, a large grain of the wood can make it much harder to carve accurately on.
- Step two – Sand the entire surface of your type of wood, this smooth surface makes letter burning smoother without rough bumps, it also removes any toxic coatings on scrap wood.
How To Wood Burn Your Letters (Six Simple Steps)
- Step one – First of all, to begin burning your letters start by picking the right wood tip for your burner, you can choose from large tips to small tips depending on how detailed the work will be that your doing, make sure you have some shading tips on hand too for filling in the letters.
- Step two – Transfer your template to your wood, you can either draw your template with a pencil, to begin with, or use a sheet of carbon paper to trace the template you want to use which you have printed out. You could also freehand your design with your wood burner if you feel confident enough.
- Step three – Next heat up your basic wood burner to a high temperature, we suggest using a higher temperature for making the straight lines of your letters, to begin with.
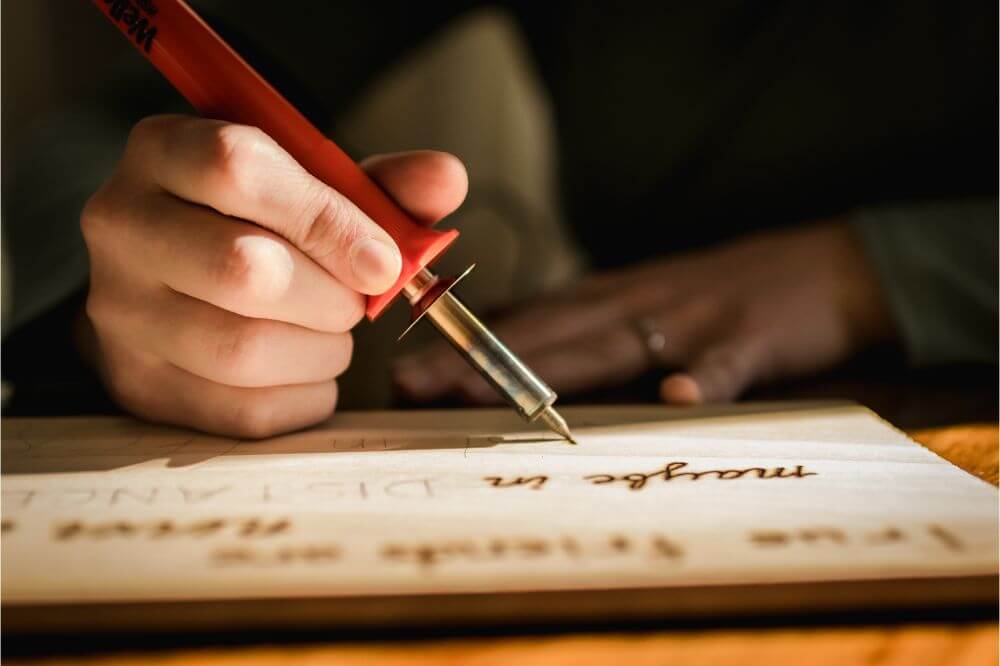
- Step three – Take your wood burner with a firm grip and trace the outlines of your letters, try to keep a consistent speed and pressure, pressing down harsher will increase the darkness of the letters and make them thicker.
- Step four – Adjust the temperature on your wood burner as you go if you want to avoid wood burn letters becoming too dark.
- Step five – Take a larger tip depending on the size of the letters or a shading tip with your woodburner and use this to fill and shade in the inside of the letters keeping within the outline.
- Step six – Lastly, add any details you want to your piece of wood, this could be starts, swirls and more, some wood burners have decorative tips if you are looking to make this part easier.
Tips For Burning Letters Into Wood
Burning letters onto wood is not easy as a beginner, it’s important to get the right handling and strokes when burning and you might need to use a template for your first couple of designs before trying to burn freehand on a piece of wood.
To help you out with your first-time wood burning project we’ve listed our favourite tips below for getting the best design possible.
- Turn your wood burner off when taking breaks – Wood burners tend to get hotter and hotter the more they are used, if your going to put your wood burner down for some time we would suggest turning it off to avoid a larger temperature change when you go back to burning, this could cause uneven lines.
- Avoid too much pressure – Let your wood burner do the burning, avoid pressing down too much or forcing the wood-burning pen, this could ruin your work and even bend the tip.
- Find a space to put your tool down – There might periods where you need to put your wood burner tool down during a project, having a heat-safe surface such as an old floor tile is very useful.
- Keep the wood burning tip clean – Over time, your wood-burning tips can build up with dirt and dust and affect their performance, make sure to clean your tip regularly by sanding it down, be careful not to overdo it, however.
- Always outline first – As a beginner, always make the outer lines of wood-burning first before filling or shading, this allows you to have a guide when wood-burning and avoid making mistakes.
Frequently Asked Questions About Burning Letters Into Wood
Which kind of wood should I use for letter burning?
Desirable woods to use for wood burning are light colored soft woods, woods that have little grain too, this allows for your design to stand out and makes it easier to burn on accurately.
How much do wood burners cost?
Wood burners can cost anything between £30-£100 and above depending on the model you choose, the higher the price, the better the burner and features it comes with.
Which ways can I transfer a design to my wood?
There are many ways you can transfer a letter design to wood, not just through carbon paper, you can also use special photocopy wood burner tips to transfer images through ink or just simply draw on your stencil with a pencil.
What safety precautions should I take when using a wood burner?
We would suggest wearing heat-protective gloves when wood burning, these devices can get hot fast and burn your skin easily.
Last Words
To conclude, burning letters into wood doesn’t have to be hard following our easy steps above, just make sure you have the right wood burner and tip plus some light coloured wood to get started. As a beginner, we always suggest using a template to help you follow lines and avoid pushing the pen in with pressure as you create your art.

