What Are Belt Sanders Used For In Woodworking?
Wood sanding can be a time-consuming job for any woodworker to do manually, which is why having an electronic belt sander for the job is important, saving you time and money.
Belt sanders are a multi-use tool in carpentry but are mostly used for sanding down rough surfaces to achieve a smooth finish on your woodwork, they operate with a motor and are handheld to increase your power and speed compared to manual sanding.
To help you understand more about belt sanders and what they are used for we’ve put together an information guide down below which will take you through what belt sanders are, common uses of a belt sander, the benefits of using a belt sander, how to pick a good belt sander and most importantly, how to use one yourself!
What Are Belt Sanders?
Belt sanders are electric sanders and run with high power and a sanding belt, they can be used for sanding rough services, levelling surfaces or freehand rounding.
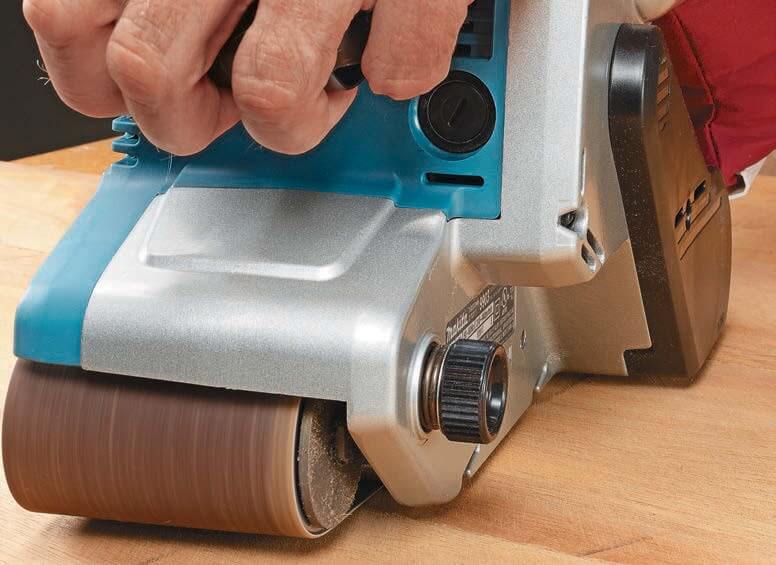
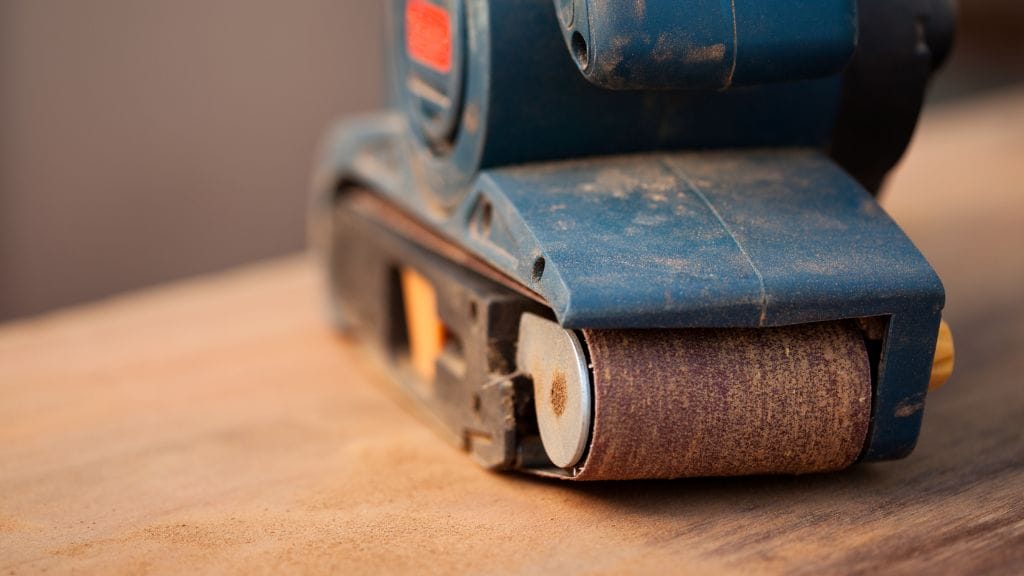
These powerful sanders can handle coarse grits as well as the removal of wood and excess material, they have a 3-4-inch belt which is located in between two rollers, you can find belt sanders in both handheld and non-portable designs.
The belt sander inside of these devices work on a continuous loop and tensions alignments keep the belt in place while the sander is moving.
Belt sanders are one form of electric sanders but they come in a huge range of designs and types, we’ve listed a few popular types below.
- Orbital sander – These sanders use a quarter size sand sheet and use vibrating orbits to sand with rather than a belt.
- Detail sander – Detail sanders use a triangular pad with an adhesive pad to sand with, these are the best sanders for getting into tight corners.
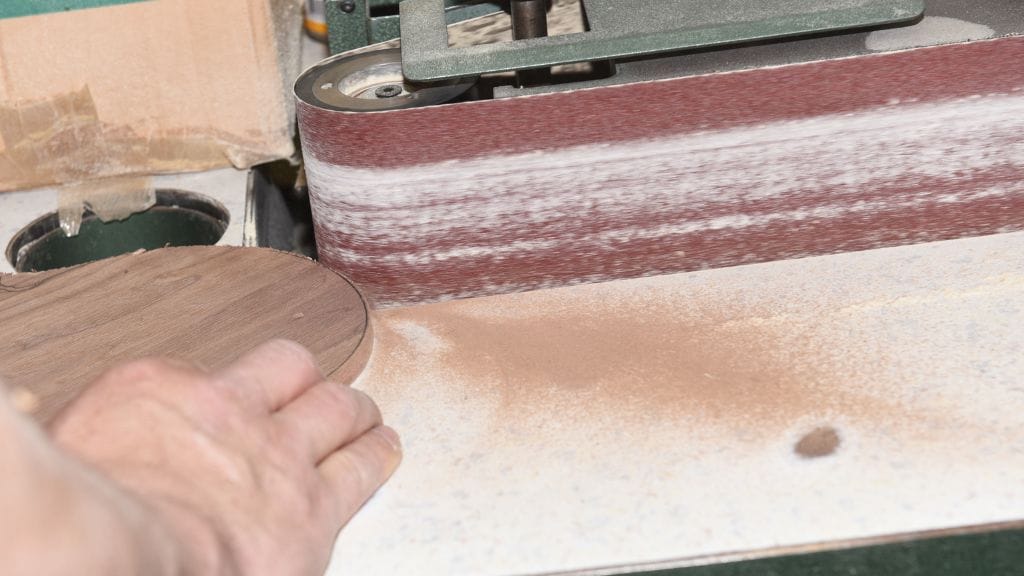
- Table sander – A table sander is a stationary sander and often use a disc sander for smoothing, they are not best for precision sanding.
- Edging sander – Edging sanders are heavy-duty floor sanders that are best for floor refinishing.
Common Uses Of a Belt Sander
Now we know more about electric sanders and what a belt sander is, we can get into what you can use this power sander for in all your DIY projects.
Fixing Sticky Doors
If you have an interior door that doesn’t close properly then a belt sander is an excellent choice to remove parts of your door which is sticking. Taking off around 1/16 to 1/8 inch should help to stop doors from sticking.
Re-Finishing Wood Or Metal
If you have some old wood or metal, sanding these materials can help to remove coats of paint and allow you to do a new finishing on wood grain. This makes your furniture look brand new and brings its glossiness back to life.
Making Furniture
Electric belts are great for sanding furniture and getting rid of rough edges on tables, chairs and other types of furniture. It’s also useful for getting rid of any imperfections in furniture and adding decorative patterns.
Getting Rid Of Excess Material
The power of belt sanders allows you to remove a large amount of excess material with each pass, when removing lots of material like the wood you want to ensure that you are sanding at an angle at the grain of your wood, after sanding at this angle you can then start with 80-grit sandpaper and move to 120-grit sandpaper.
Scribing
Belt sanders can be used to scribe lines on tabletop surfaces for a good fit, when belt sanding on a laminate countertop in particular ensure that your belt is travelling in the right direction to push the laminate down.
The Benefits Of Using a Belt Sander
If you are not sure whether or not a belt sander is worth the investment when compared to manual sanding then you might be interested in learning about the benefits of using one.
- Fast-acting – One of the main advantages to belt sanders is how fast they are, these are much more aggressive than orbital sander types and can remove large amounts of material in a short amount of time. Many people start with a belt sander as an aggressive tool to get rid of lots of material then go in with a detailed sander.
- Easy to use – Belt sanders unlike some other power woodworking tools are easy to function and use on a wood surface. You can re-shape and smooth down hardwood floors or pieces of wood in seconds compared to hours with a piece of sandpaper with virtually no effort required. You should always have good control of your belt sander however since they can slip when operating at high speeds.
- Multiple usages – We already know that belt sanders can be used for a wide variety of applications, the coarse grit on their sandpapers can be used for; finishing, a sander for furniture, removing stains and paints from surfaces, smoothing corners and rough edges.
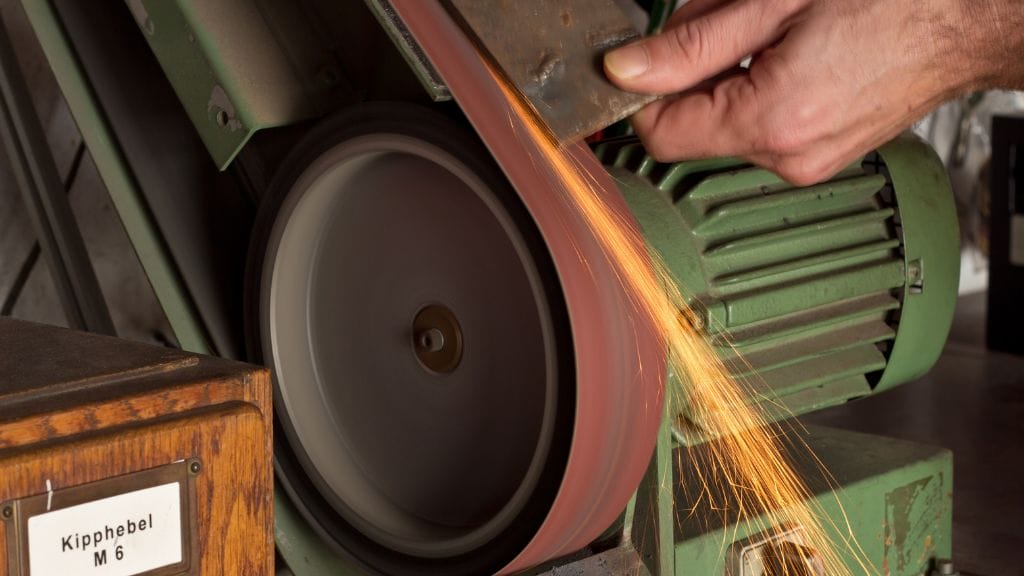
- Can be used on metal – Unlike some other types of sander for sanding, belt sanders can indeed be used on soft metal and do not clog up like the normal sander in motion does.
How To Pick The Best Belt Sander (Buying Guide)
Now we know all about what you can use your belt sander for and why you would invest in one, let’s discuss exactly what you might need in a belt sander design to make sure you are buying the best electric sander type for your DIY woodworking.
- Power – In a multipurpose belt sander, the wattage of power is a huge factor considered in your sander, high powered wood sanders will work faster and are better for heavy-duty applications such as flooring while lower powered belts sanders will have a slower removal of wood.
- Variable speed control – Variable speed is super important on a belt sander, these will often be adjusted via a trigger and should show their varying speed in RPM (rotations per minute). Some cheaper belt sanders do have a set maximum speed.
- Size of the sander – The size of a belt sander is very important on handheld units, they come in a lot of varying sizes, the smaller your sander then the easier it can fit into tight corners, the bigger the sander then the better it will be for paint stripping in shorts amount of time.
- Dust collector – A dust collector is not a must on a wood sander but can improve clean up time plus it’s healthier to have less dust roaming in your environment.
- Extra features – There are a few handy features to look out for in a belt sander, some to name are an ergonomic design, filtration, auto-track and other handy features to improve your wood sander results.
- Warranty – Always ensure your electric sander has a one or two year warranty for buyers protection in case of a faulty sander.
Which Belt Do I Use On a Belt Sander?
One of the most important features of all in your belt wood sander is the belt itself, what sandpaper and grit type should you be using?
Well, the sandpaper belts for your device come in varying grits, the number of coarse grit your sandpaper has then the more particles it has which means a finer grit, a finer grit on a wood sander is much better for detailed sanding while coarser grits are best for removal.
We’ve listed some varying types of grits you can use below.
- 40-80 – This is best for DIY jobs at the beginning when you need to work fast and do a lot of removals, this would be one of the coarser grits.
- 100-150 – A medium-coarse grit that is perfect for average projects.
- 180-220 – This is used for projects where a finer grit is needed and is perfect for sanding out deep scratches.
- 320-400 – A fine grit is often used between coats of finish.
How To Use a Belt Sander (Step By Step)
It’s all good knowing what you can use a belt sander for, but what about how to use one of these belt sanders in comparison to regular sandpaper?
Not to worry. we’ve got you covered with a step by step guide on how to use your belt sander below.
- Step one – To begin, start by selecting the type of sandpaper you want on your belt, this could be lighter grit sandpaper or heavier depending on the wood you are sanding. Put on all your safety gear such as goggles and clamp your workpiece down.
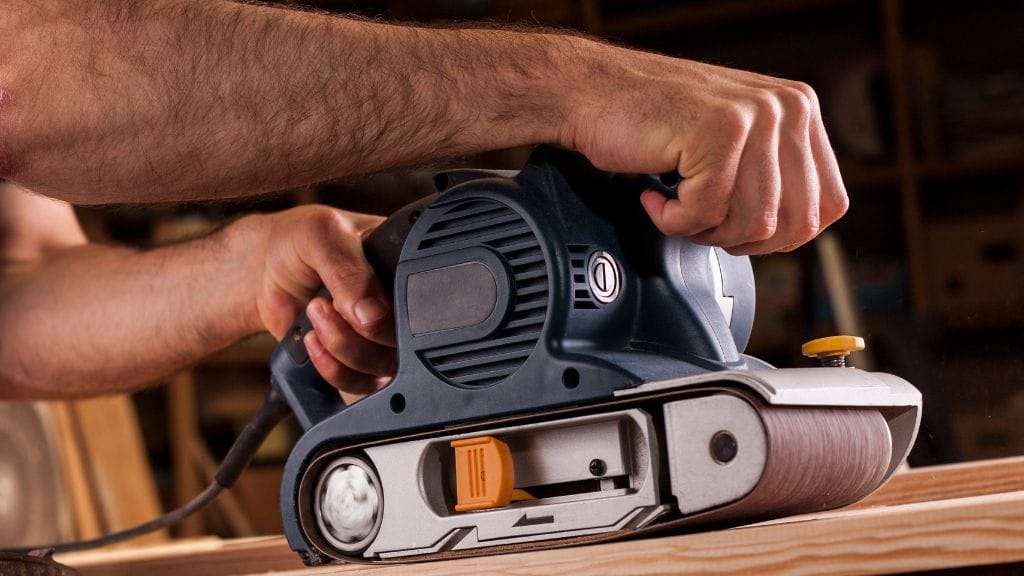
- Step two – Startup the belt sander and allow the electric sander to come to full power before coming into contact with the wood surface. With a controlled grip on the sander, the handle bring the rear of it down to the surface of the wood and start moving the sander in a forwards motion.
- Step three – Avoid placing uneven pressure on the sander and move it backwards and forwards in a controlled motion to sand.

Our Best Tips For Using a Belt Sander
Belt sanders, disc sanders and orbital sanders are all pretty easy power tools to use but it can be beneficial to learn some tips and tricks for getting the most out of your device.
- Remove dust before using your belt sander on metal – Avoid using your sander on mental straight after using it on wood, this is because sawdust can potentially ignite with metal sparks and cause a fire, always clean before use.
- Stop the sander now and then – When sanding for long periods it is a good idea to give the sander a break now and then, this stops the device from overheating.
- Wear a dust mask – Dust is a major issue when sanding and it is dangerous to inhale all the time, wearing a dust mask will prevent inhalation, also make sure you use the dust extractor on your sander.
- Clamp your work – Although clamps are annoying to sand around it is important to keep your work still when sanding to avoid it from slipping, this could be a safety hazard and not mention will damage your work.
- Prevent gouges – To prevent nasty gouges in your work do not use sandpaper with a finer grit than 120 and keep the plate underneath the belt clean.
Last Words
To conclude, belt sanders have multiple applications and can be used for finishing, smoothing and removal on woodwork or other materials such as metal for example. If you are planning to use your belt sander on a DIY project, always use the right kind of grit on your sandpaper and follow the safety precautions we mentioned in our tip list above.

