If you’re looking to spruce up your flooring, you may be considering using an embossing leveler. Without it, subtle gaps and nooks can cause trouble for vinyl flooring. Even if sheet vinyl isn’t your final plan, a correct embossing is necessary for additional tiling or floor laying later on.Ove
How to use an embossing leveler? You can fill any noticeable gaps and let the leveler do its job. Unseen crannies can be levelled to the same measure. If you’re looking for a tile floor, then lay an embossing leveler onto the vinyl before tiling.
Other underlayments are available if you’d prefer to have a luxury vinyl floor finish rather than tiles, laminate, or carpet. So in this article we’ll be looking at how to best use embossing, as well as when you might need to do so. At time embossing leveler is necessary, but similar situations when it may be excessive.
What is an Embossing Leveler?
Embossing, much like caulk, is designed to fill unwanted gaps or just gaps you would rather not be showing. This can be covering your flooring seams, or to hide underlayment joints that are showing through your vinyl or laminate flooring.
An emboss leveller is a mortar-like substance which can be used to install new flooring. When putting in new flooring inside a room, an embossing leveller will serve as an underlay. The purpose of an embossing leveller is to minimise adverse effects produced by seams, depressions, as well as the old floor’s condition when you install a new floor on top of it.
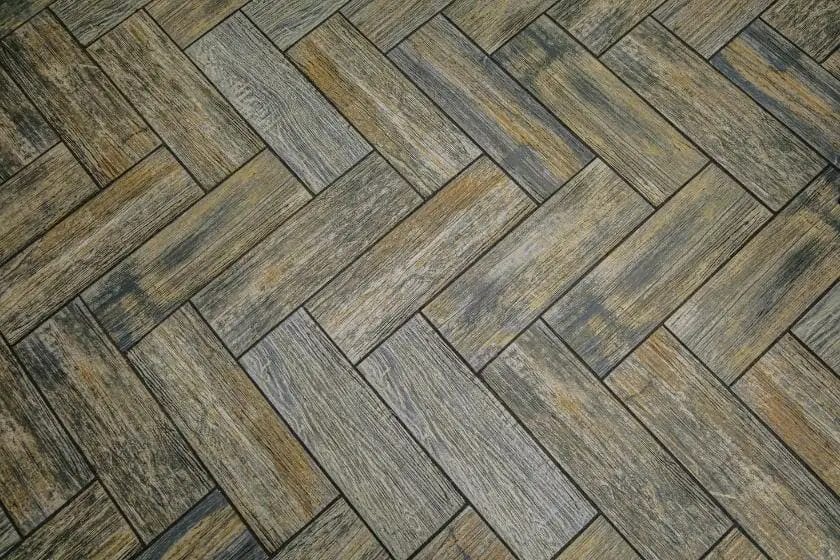
Bare in mind that when you’re not using an embossing leveller to cover the old floor’s design, it will show through the new floor’s surfaces as well, particularly if both floors are vinyl. However, you can use the leveler for any flooring including carpet, although it works best with vinyl and wooden hardwood flooring.
It is really great as well for filing the shallower faux-grout grids of tiles with chamfered edges to simulate the appearance of grout. A fake concrete or mortar look could be the aesthetic you are seeking, and is especially common for kitchens, or basements and cellars.
If you have a porch or outside area that needs a quick filling, then embossing is the material for you. Although they take slightly longer to set than caulk, which is made of mixed polymer for a rubbery texture, both materials are fully waterpoof when they actually set. Making them ideal for outdoor use.

How to use an Embossing Leveler?
Using your embossing will require some care, especially if you’re a beginner. Luckily, the process is relatively amateur friendly, and won’t ask you to be doing anything particularly difficult, nor use dangerous power tools. Keep reading to find out how:
- Step One) Floor materials. What material you are using for your new floor is important to the process of embossing, as different materials react in different ways when being installed. Especially on top of existing and old flooring. To begin, choose the materials for your new flooring. Among some of the options are hardwood, vinyl, and ceramic. When it comes to setting up new wood floors, embossing leveller is a breeze. If the original floor is vinyl and you want to replace it with porcelain, slate, or ceramic tiles, make absolutely sure you remove the old vinyl beforehand. This is because installing tiles on vinyl flooring will lead them to crack, fracture, and become ruined.
- Step Two) Selecting the type of emboss leveler. There’s many various kinds of embossing levellers available. Choose the one based on your intended application. A common or typical embossing leveler is a dry composition based on Portland cement that contains urethane or acrylic components. Latex resin is used in several types of embossing levellers. You can also purchase a tinned, pre-mixed embossing leveller. If you’ve used the powder form, make absolutely sure you thoroughly combine it to achieve the desired viscosity. Check the packaging directions to find out just what the embossing leveller should be for and which one is best for you.
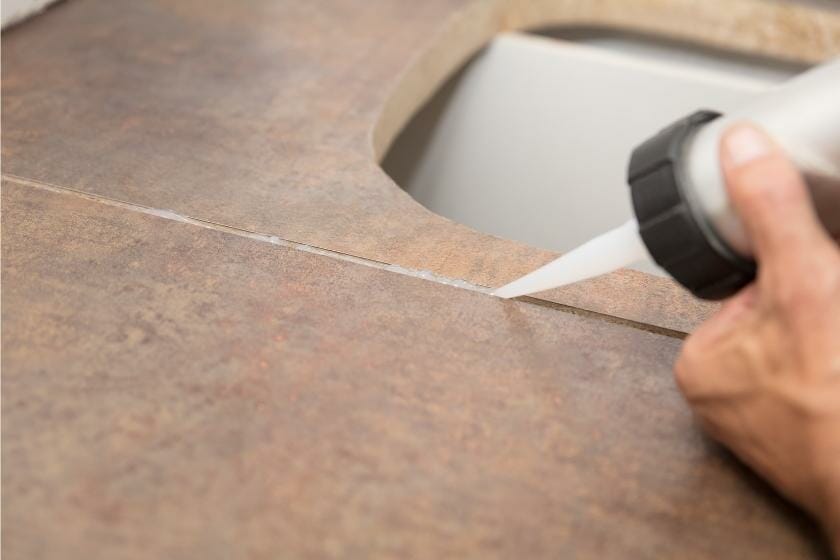
- Step Three) Applying the emboss. Make doubly sure you can get enough time since the embossing leveller must settle for at least 24 hours before you begin the new flooring installation operation. It will require about 20 to 30 minutes for the drying process to complete. Keep in mind that you should let it harden completely before attempting to cut it. With a flat-edged trowel, apply the embossing leveller to the ground at a 45-degree angle. Remove the excess leveler with the trowel, and ensure you’ve filled every indent and patterning from the old floor.
- Step Four) Optionally, work quickly. Try to work quickly, since the embossing leveller will have started to dry after 10 minutes. If you’re using a flat-edged spade skillfully enough, you won’t need to trim or sand the embossing leveller. Nevertheless, most individuals will notice that the leveler’s appearance is inconsistent once it has dried completely. In this scenario, use a scraper blade to level down the uneven regions. You should still take care to avoid a seam failure, usually resulting from an overly close proximity to existing joints and seams.
Alternatives, Flooring, and Underlayments
For filling gaps, caulk is perhaps the best substitute. Waterproof resin and designed specifically for the different nooks and crannies of tiles on floors and walls. Caulk also comes with a handy applicator, so you are unlikely to need to clear out excess materials after the fact.
Vinyl foam backed materials can be used on top of underlayment. However, the adhesive on the underlayment joints can cause damage to these materials. Compared to sheet vinyl, the embossed layer can be a fine substitute on top of a board type underlayment.
Although fine on board type underlayment, foam can cause trouble for vinyl flooring. Over sticking to the board underlayment panel like glue can cause damage immediately, but also over time will lead to wear and tear. So, correct setting and procedure should be followed as mentioned above.
Of course, you can also use embossing as a design feature, adding a layer onto existing design projects. This works just as well as adhesive underlaying for new floor installation, so don’t shy away from using embossing levelers to add a bit of flair to another DIY project.

