Can You Build A Cupboard In An Alcove? – Our Guide

In older houses you will often find an alcove in the wall, which is the space between the two sides of the chimney breast, figuring out what fits here can be a task and leaving it bare can make your house look empty, so why not DIY an alcove cupboard?
To build a cupboard in an alcove you will need some timber, MDF, kitchen cupboard doors, handles, paint colour and skirting, building the cupboard can be done without fancy tools but some to have on hand are a saw, sandpaper and a drill.
We’ve put together a full guide below which will take you through how to make your Alcove cupboard in easy steps and get to utilising that storage space!
Our Step By Step Guide To Building Your Alcove Cupboard
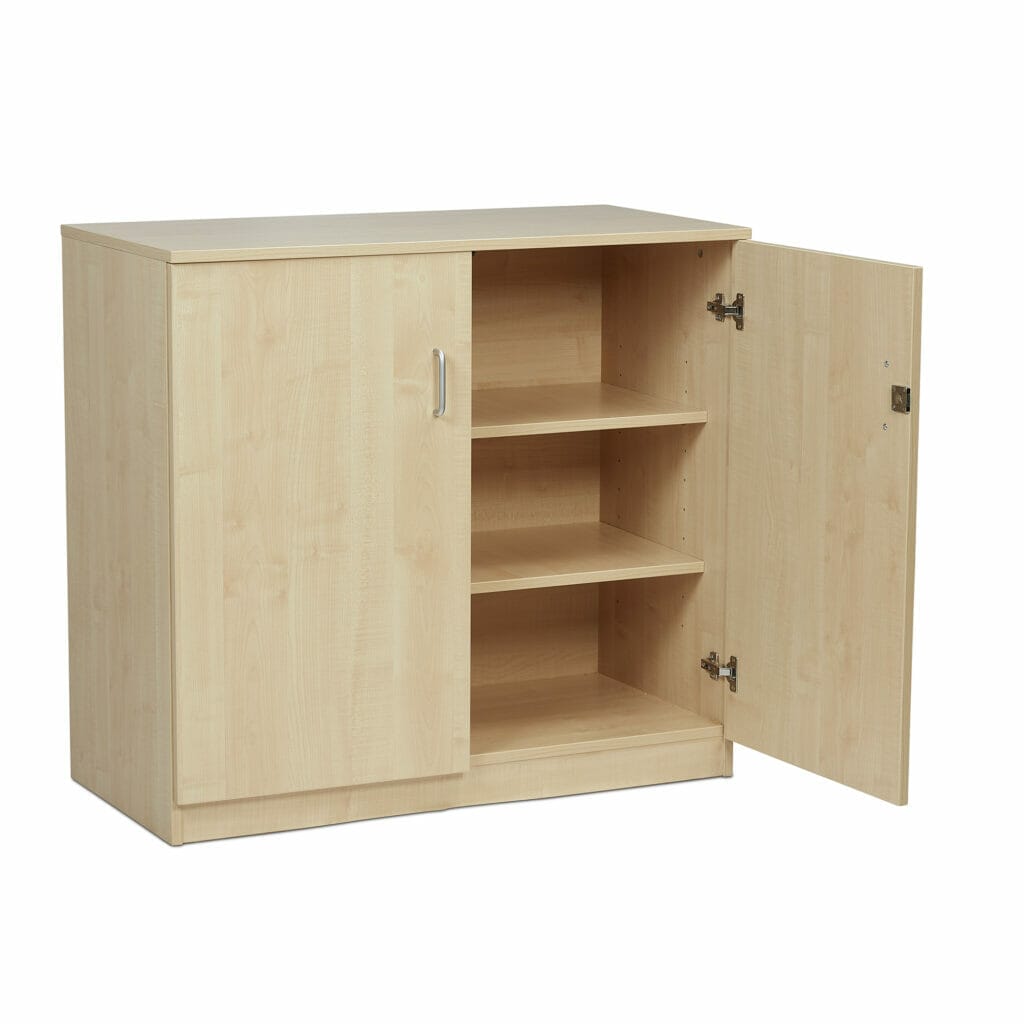
Building an alcove cupboard is an intermediate DIY task, you will likely need a few power tools on hand for the job and an extra pair of hands, but it can be done within a day.
We’ve listed the tools and methods for this DIY project below.
Tools
- Measuring tape and spirit level.
- A drill.
- Sandpaper.
- Crowbar.
- Mitre saw.
- Circular saw.
Materials
- 2×3 inch timber.
- MDF.
- Style kitchen cupboard doors.
- Paint colour.
- Screws.
- Wood filler.
- Handles.
Method
- To begin, start by removing the skirting from your Alcove, you can do this with a multi-tool and use a crowbar to pull it away from the edges. Measure the width of your alcoves, it will likely have different lengths if it is an older style house.
- Start to build the cupboard with your base, this should be with 2x3inch timber and its width will depend on the width of your alcove, the depth will change according to far you want the cupboard to come out, consider the depth when opening and closing the doors on the cupboard too.
- Screw your timber together then use your circular saw to cut a square of MDF measuring 18mm and screw it into place on the timber base. Use a spirit level to check the accuracy, make sure your kitchen cupboard doors fit into the space.
- Make sure that the vertical timbers of your frame come out far enough for the doors to shut, remember to crew the horizontal pieces of wood above to finish off the frame. Use two screws for each fixing that you make.
- Cut two other vertical timbers and screws these into the centre, three horizontal pieces will act as bracket support. Cut your shelf out of the MDF with a circular saw and add a 22mm MDF lid, use wood filler to fill in any gaps at the edge and screw into the frame as well as MDF strips, a nail gun woodwork great for this part.
- Mark your hinges where they need to be for fitting the pre-bought doors, drill a hole in the timber frame which will be used for fitting the hinges. Box in your doors using the MDF to fill gaps and wood filler to mask any others.
- Refit your skirting, this might need a lot of filing and sanding to retain its original image with another piece of MDF and prime then paint to match the colour of the kitchen cupboard. Fit your door handles and voila! You have your DIY cupboard in your Alcove!
Last Words
To conclude, building a cupboard in an alcove can be a difficult DIY task but is a great way to make use of the empty storage space in your room. We recommend buying kitchen cupboards for a better aesthetic and to avoid making them.
We also suggest re-using the skirting where your cupboard will be since this gives a more natural look to the Alcove storage space.

